|
|
| The setting that the switch is possible adheres to either as for NeorageX
because neo-geo corresponds to both the game arcade and family-use game
machines. (#^.^#)。It originally became an emulator that was able to play
still because of the appearance of the XP patch though it was an emulator
that did not move in XP. Please try though it might be difficult for a
moment because it is English. |
 |
Need:
・Neorage
Runtime Files
・WinXP用 PatchFile
・Neogeo Bios
(4 roms)
・NeoGeo ROM
Decompression software(zip)
|
Directory:
\NeorageX
\NeorageX(U/D)
\NeorageX
\NeorageX\ROMS |
 |
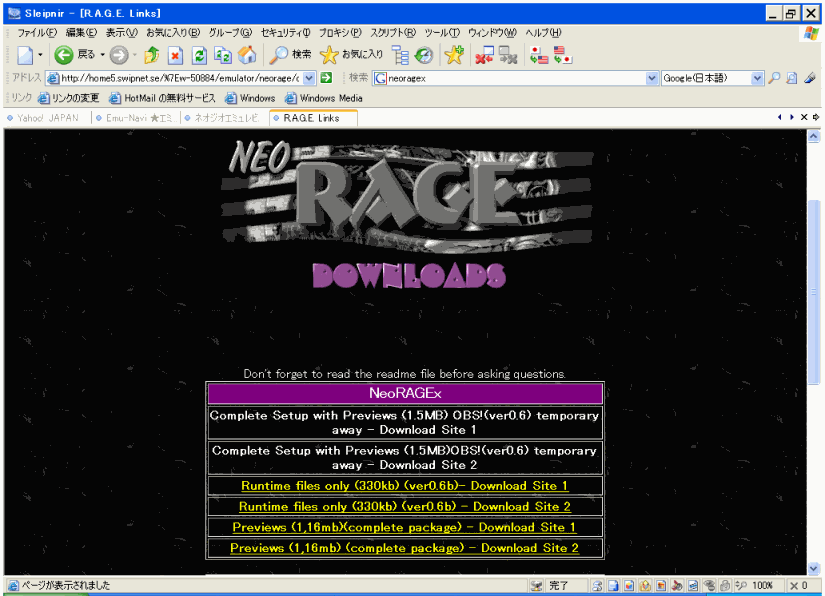
1.First of all,downloads a at least necessary file from official HP. (ROM/Bios for neo-geo is prepared for yourself, and the ROMS folder is made and ROM is turned on.)
2.Because the main body of compressed by "Zip" form, it defrosts
with free software etc. that can defrost zip.
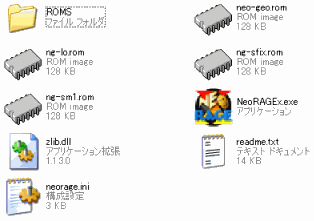
3.folder name is assumed to be "NeorageX", and a necessary file
is put in the storage directory respectively. (The patch file for XP can
be obtained by "Emulator Information3". )
- When the preparation to here ends, let's finally start up "NeorageX". |
   |
4.Patch (ng.exe) for XP obtained for the change of "NeoRAGEx.exe" of execution file by "Emulator Information3" is put in this
folder, and the NeoRAGEx.exe file is thrown away.
5.Then double-click the "ng.exe" file.
|
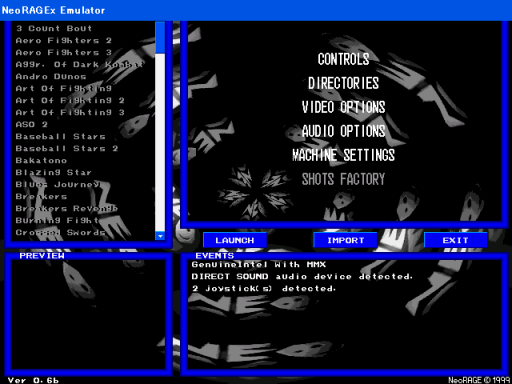 |
6.When the screen in E left chart comes out, it is start-up Ok.
7.First of all, push "IMPORT" button in the right of the screen with there ROM of the game in "ROMS" folder. If the game list of the left side whitens, it is recognition completion.
- Please note that it is likely to be recognized to the vicinity of the lower side of the list as (?) though it is not possible to recognize well according to ROM and there is a thing that doesn't whiten either. |
| 4.Confirm the default key. |
|
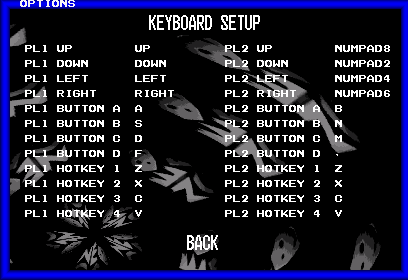 |
8.Click the Controls. (#^.^#)
9."CREDITS 0" written that "3" is pushed under the first though it is a key to easy explanation becomes one and credit is done. (Money was put. )
10.the start button are "1" of the figure. Hereafter, it is a key operation list. (The key is different by the game. )
A key ・・・ button 1
S key ・・・ button 2
D key ・・・ button 3
F key ・・・ button 4
Arrow key ・・・ Direction button
|
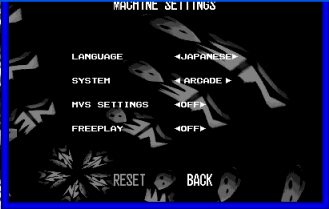 |
11.Because the arcade version and the family-use game machines version can be chosen for "SYSTEM", both are acceptable.
(It is a difference whether insert the coin or not.)
12.The "LAUNCH" button of screen shown on the right-center is pushed specifying the game (reverse) when returning to the main screen and the "BACK" key.
- Now the game screen can be really seen this time. !!
|

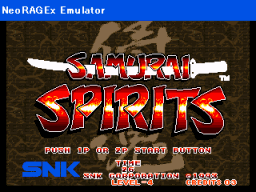
You can put a lot of credit to it!! |
|
| EMU NAVI |
|
|
|
|
|
| Vote&Ranking |
Which one
you like??

Vote for it!!
Monthly Ranking |
| AFFILIATE |
|
|
|
|